How to Organize Cardstock by Color and Size
Sort cardstock by sheet size first and color second, with neutrals, whites and specialty finishes at the end. Includes divider choices, a swatch ring for picking shades, and a home for card bases and envelopes.
At a glance
What you need
- One upright file box or holder per sheet size
- Tabbed dividers or file folders
- A hole punch and a binder ring
- A pencil or fine pen
- A bookend or small box for support
- Blank adhesive labels
You know you own a dusty rose. It is somewhere between the letter-size pack from last spring, the 12 x 12 pad and the pile of trimmed card fronts, and after five minutes you settle for a pink that is nearly right. That is what mixed sizes and mixed makers do to a paper collection.
The fix for how to organize cardstock is a strict two-level sort: size first, color second, with a swatch ring that lets you pick a shade without touching the sheets. Set aside about an hour or two, and every color ends up with one address.
What to gather before you start
- A clear table and all of your cardstock, including the half-used packs in drawers and bags.
- One upright container per sheet size: a file box, a magazine-style holder or a sturdy carton cut down to height.
- Tabbed dividers, file folders or stiff cardboard to cut into dividers.
- A hole punch and a binder ring or a loop of string for swatches.
- A pencil or fine pen for writing on swatches.
The sort, in order
- Take every sheet out of its packaging. Wrappers hide colors and make stacks slide. Before you discard a wrapper, note the maker and color name if you want to rebuy an exact match.
- Divide by size. Make three stacks: letter size, 8.5 x 11 in (21.6 x 27.9 cm); 12 x 12 in (30.5 x 30.5 cm); and pre-cut or pre-scored card bases.
- Pull out the offcuts. Anything that is no longer a full sheet leaves the stack and goes to your paper scrap system.
- Sort each size by color family, using the order in the next section.
- Arrange shades inside each family from light to dark.
- Cut a swatch from each color as you file it.
- Add dividers, load the containers and label the tabs.
Size comes first because sizes do not share containers well. A letter sheet filed among 12 x 12 sheets drops out of sight and slumps, and a single color sequence across two heights is hard to flip through.
A color order that leaves no doubt
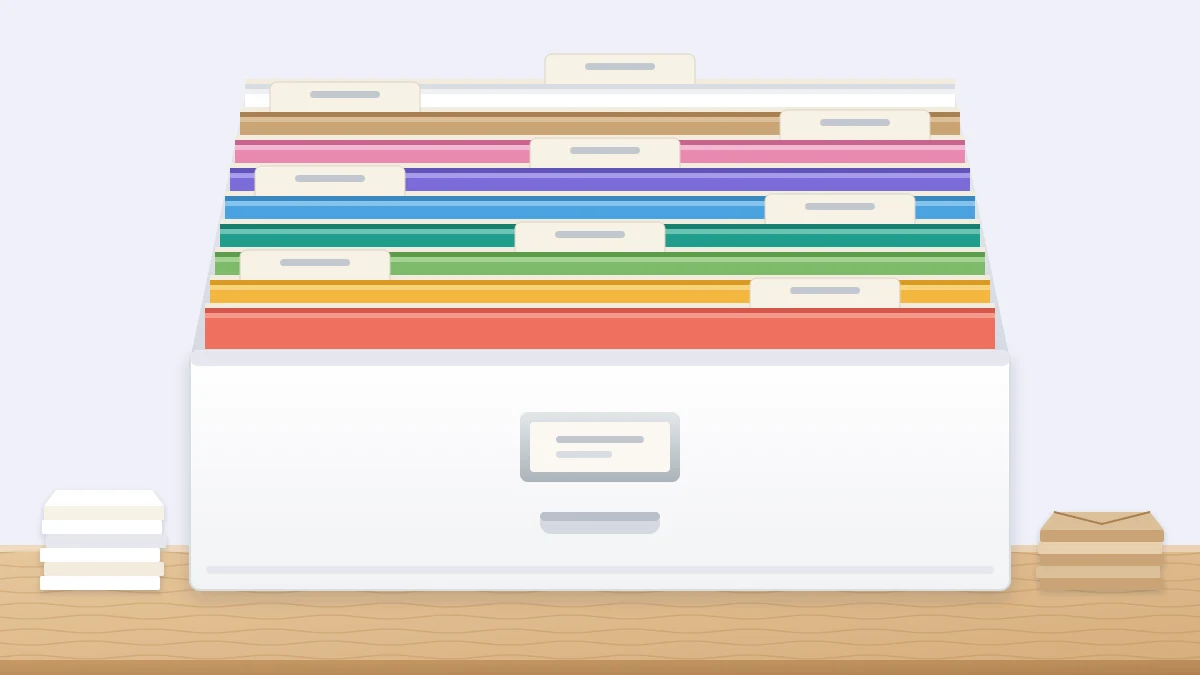
Use the same sequence in every container so that your hand learns where each color sits:
- Red
- Pink
- Orange and peach
- Yellow
- Green
- Teal and aqua
- Blue
- Purple
- Brown, tan and kraft
- Gray and black
- White, ivory and cream
- Specialty finishes: glitter, metallic, mirror, pearl and vellum
Three decision rules settle the awkward sheets:
- In-between shades such as coral or teal go with the family you would search first. Decide once, and note the choice on the divider.
- Whites get their own careful sort. Bright white, soft white, ivory and cream look alike in a stack but not on a card. Keep each type together and write its name in pencil on the back corner of the top sheet.
- Specialty finishes stay at the end, whatever their color. They are chosen by effect, and glitter sheets shed onto their neighbors, so a folder of their own keeps the rest clean.
Dividers and folders for each color family
A divider is what stops a sorted collection from drifting back into a blur. You have two workable choices:
- Tabbed dividers standing between families. They are quick to flip past and best for collections you use daily.
- A folder per family. A folder can be lifted out and carried to the table, and it keeps a thin family of five sheets from disappearing. Hanging folders in a file box work the same way.
For 12 x 12 sheets, dividers must be at least as large as the paper, with the tab rising above it. The article on storing 12 x 12 scrapbook paper compares holders in that size. Label each tab with the family name only; advice on wording and placement is in the guide to a labeling system that lasts.
Make a swatch ring
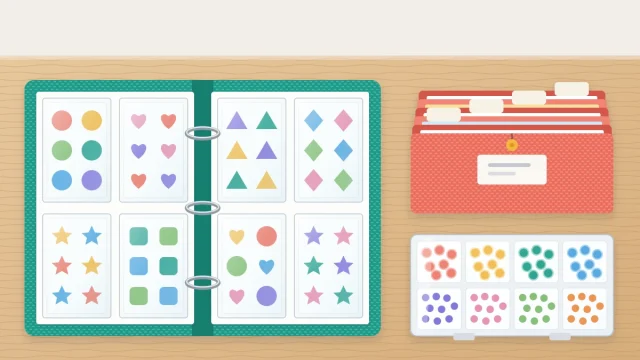
A swatch ring is the whole collection in your hand. You hold it against a stamped image or a patterned paper, choose the shade, then pull one sheet.
- Cut a strip about 1 x 3 in (2.5 x 7.5 cm) from each color. Take it from a short edge or from an offcut of the same sheet.
- Write the color name, the maker and the sheet size on the back. Add the weight if your collection mixes light and heavy stock.
- Punch a hole at one end and thread the swatches onto the ring in the same order as the files.

When you finish the last sheet of a color, move its swatch to a second ring or a clip. That clip is your shopping list. When the color is restocked, the swatch goes back.
Store sheets upright, with support
Standing sheets are easy to flip through, but cardstock bows if it leans. Fill each container until the sheets stand straight and one can still be drawn out without scraping its neighbors. In a container that is only half full, put a block behind the last divider: a bookend, a small box or a folded piece of corrugated cardboard.
Letter-size sheets stand on a long edge in a file box or on a short edge in an upright holder. Place the containers within reach of where you cut, in a dry spot away from direct sunlight, because the exposed top edges are the first part to fade.
Tip
Refile in batches. Keep one flat tray on the desk for sheets you have pulled, and return them to their families at the end of the session.
Card bases and envelopes
Pre-cut and pre-scored card bases are a different supply from full sheets: you reach for them at the start of a card, not in the middle. Give them a small box or a drawer near your work surface, standing on edge with the fold down, sorted white first, then kraft, then colors.
Keep envelopes in the same box or the one beside it, grouped by size and filed behind the bases they fit. If you cut your own bases, store a few finished ones from each batch here too, so the full sheets stay full.
Adjusting for a small or large collection
Small collection (one or two packs per size): skip the twelve families and use four folders per size: warm colors, cool colors, neutrals and specialty.
Large collection: give the busiest families a container each, and separate solid-core from white-core stock or light from heavy weights with a second divider inside the family.
Frequently asked questions
Should cardstock be stored flat or upright?
Upright storage makes colors much easier to flip through and works well as long as the sheets are supported so they cannot lean. Flat storage is fine for a small collection or for delicate specialty finishes, but stacks need to stay short so you can reach the bottom sheets.
How do I organize white and cream cardstock that all looks the same?
Keep each type in its own group inside the white section and write the name in pencil on the back corner of the top sheet. A swatch for each one, labeled with maker and color name, lets you compare bright white, soft white and ivory side by side before you cut.
What is a cardstock swatch ring for?
It is a set of small labeled samples, one per color you own, held on a ring in the same order as your files. You match the swatches against a project, choose the shade and pull one sheet. Swatches for used-up colors can be moved to a clip as a shopping list.