Craft Supply Labels: A Simple Labeling System That Lasts
A labeling method for bins that all look alike: what each label should say, where it goes, which label type suits which container, and a short routine for keeping labels true as supplies change.
At a glance
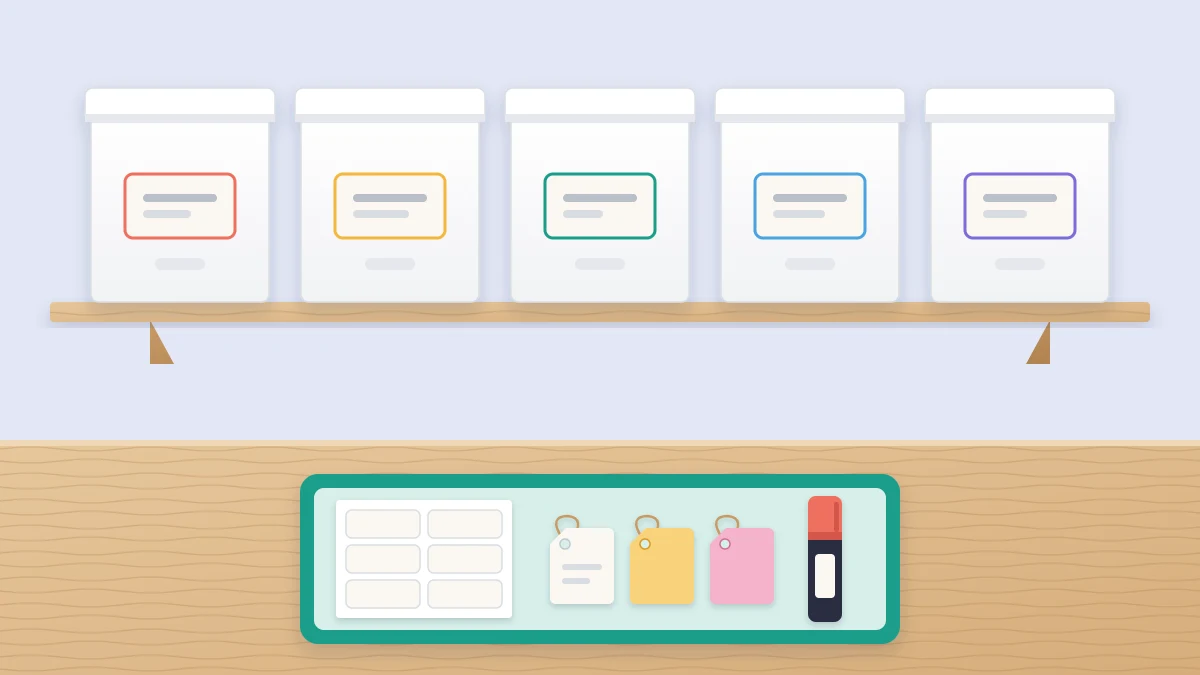
What you need
- Blank adhesive labels
- Permanent marker
- Tie-on card tags
- Clip-on label holders with paper slips
- Colored dot stickers
- Notepad and pencil
Twelve identical white boxes on a shelf look wonderfully calm, right up to the moment you need the washi tape and have to open nine of them. Matching containers solve the visual clutter and create a new problem: nothing tells you what is where.
Craft supply labels fix that, provided they follow a few rules. A label has to say the right thing, sit in the same place on every container, and be easy to change when the contents change. Otherwise it is out of date within a season and you stop trusting any of them.
What a label needs to say
Write the category first and the detail second. “Paper: scraps” and “Paper: envelopes” sort themselves on the shelf and in your head. “Scraps” on its own could be paper, fabric or yarn.
Keep to two parts and about four words:
- Category: the broad family, such as Yarn, Fabric, Paper, Paint, Tools, Beads.
- Detail: what makes this container different from its neighbors, such as a weight, a size, a color family or a use.
Label what the container is for, not a list of what is in it today. “Paint: acrylic, warm colors” stays true when you add a new orange. A list of twelve color names is wrong the first time you finish a bottle.
Naming rules that stay consistent
Labels work as a set, so decide the rules once and write them on a card that stays with the labeling supplies.
- Use the word you actually say. If you call them “sparkly bits,” a label reading “embellishments” will not help you find them.
- Pick singular or plural and keep to it.
- Use one word per category everywhere. Not “Thread” on one box and “Sewing thread” on another.
- Write sizes the same way each time.
- Avoid “Misc.” A container that cannot be named needs sorting, not a label.
Where to put the label
A label belongs on the face you see when the container is in its home. On a shelf that is the short front end, not the lid. In a drawer you look down into, it is the lid or the top edge.
Then use the same position on every container of that kind: for example, centered and about 1 in (2.5 cm) below the rim. When the labels line up, your eye runs along one row instead of hunting across each box. Stacked boxes need the label on the front of the body, where the box above cannot cover it.
If your containers are a mixture of shapes, choosing a matching family will make every later step easier; see how to choose bins, boxes and drawers.
Label types compared
No single type suits every container. Most rooms end up using two or three.
Handwritten adhesive labels
Blank stickers and a permanent marker cost little and are quick. They suit smooth plastic, card and glass. Print in capitals for legibility, and choose labels described as removable if you expect to change them.
Label maker
Printed tape labels are uniform, easy to read from across the room and tidy on small surfaces such as drawer fronts and compartment boxes. They take longer to produce, so they suit categories that are settled.
Tie-on tags
Baskets, wire bins and fabric handles have nothing for a sticker to grip. A card tag on string or a ring hangs from the handle or the rim and can be rewritten on the back.
Clip-on holders with paper inserts
A clip-on holder grips the rim of a fabric bin and takes a slip of paper. Changing the label means swapping the slip, which makes this the best choice for bins whose contents change often, such as current projects or seasonal supplies.
Color coding
A colored dot or a strip of colored tape adds a second layer: one color per craft, so every sewing container carries blue and every paper container carries yellow. Color tells you which shelf to look at; the words tell you which box. Use it with written labels, not instead of them, and keep to five or six colors you can tell apart at a glance.

Removable or permanent
Use this rule: the less settled the category, the less permanent the label.
- New system, first two weeks: sticky notes or low-tack tape. You are still finding out what the categories should be.
- Contents that rotate: clip-on holders, tie-on tags or removable labels.
- Settled categories: label-maker tape or permanent adhesive labels.
Before committing a strong adhesive to a container you care about, test one label on the underside to see whether it peels cleanly.
How to label the room in one session
Set aside about an hour for a room that is already sorted. If it is not, work through the plan for organizing a craft room first; labels come near the end of it.
- Walk the room with a notepad and write one line per container: category, then detail.
- Read the list through. Merge duplicates, fix inconsistent wording and rename anything vague.
- Choose the label type for each kind of container and the position it will take.
- Make all the labels in one batch, working from the list.
- Wipe each surface clean and dry, then apply the labels one shelf at a time.
- Stand at the door and check that every label can be read from where you would normally look for it.
For a small stash, category alone may be enough: a handful of containers do not need a second level. For a large stash, add a shelf label above each section, such as “Yarn” or “Paper,” so the container labels only have to carry the detail.
Tip
Keep a small labeling kit together in one pouch: blank labels, tags, the marker and your naming card. A label that takes thirty seconds gets made; one that needs a search does not.
A short relabeling routine
Labels drift because supplies do. A few minutes on a regular basis keeps them honest.
- When contents change: change the label before the container goes back on the shelf.
- When a label is wrong twice: the category is wrong, not your memory. Rename it.
- About every three months: open each container on one shelf and compare it with its label. Replace any that are peeling, faded or no longer true.
That check fits naturally into a wider upkeep habit, described in the 10-minute reset routine for a craft room.
Frequently asked questions
What is the best way to label fabric bins?
Stickers do not hold well on cloth, so use a clip-on holder that grips the rim and takes a paper slip, or a tie-on tag looped through the handle. Both can be changed in seconds, which suits fabric bins because their contents tend to rotate.
Should craft labels list everything inside the container?
No. Name the purpose of the container in a few words, with the category first and one detail after it. A full contents list goes out of date as soon as you use something up or add something new, and long labels are hard to read from a distance.
How do I label clear containers when I can already see inside?
Clear boxes still benefit from a label, because several may hold similar-looking supplies and a label records details you cannot see, such as a size or a fiber. Keep it small and place it in the same corner on each box so it does not block the view.