Sticker Storage Ideas for Stickers, Die Cuts and Embellishments
Give sticker sheets, die cuts, tiny embellishments and metal dies the container each one needs: pocket pages or an accordion file, envelopes in a case, lidded compartment boxes and magnetic sheets in sleeves.
At a glance
What you need
- A ring binder with pocket pages or an accordion file
- Envelopes or small zip bags
- A shoebox or photo-style case
- Shallow compartment boxes with tight lids
- Flexible magnetic sheets and clear sleeves
- Tabbed dividers
Open the drawer where the small paper-craft extras live and you will probably find four different supplies behaving like one mess: full sticker sheets, loose die cuts, tiny sequins escaping their packets and a few metal dies stuck to each other. They tangle because they are stored together, and they need different containers.
The sticker storage ideas below are arranged by supply, so you can set up one part at a time. The whole system fits on a single shelf, and most of it can be built from binders, envelopes and boxes you may already own.
Split the drawer into four kinds
Before choosing containers, tip the drawer out onto a tray with a rim and make four piles:
- Flat sheets: sticker sheets, rub-ons, alphabet sheets and washi-style sticker strips.
- Loose flat pieces: die cuts, tags, journaling cards and other ephemera.
- Tiny pieces: sequins, enamel dots, brads, gems and buttons.
- Metal dies and any matching stamps.
Each pile has one rule. Sheets stay flat and visible. Loose pieces are grouped in small packets. Tiny pieces get lids. Dies are held down so they cannot slide.
Sticker sheets: three ways to file them
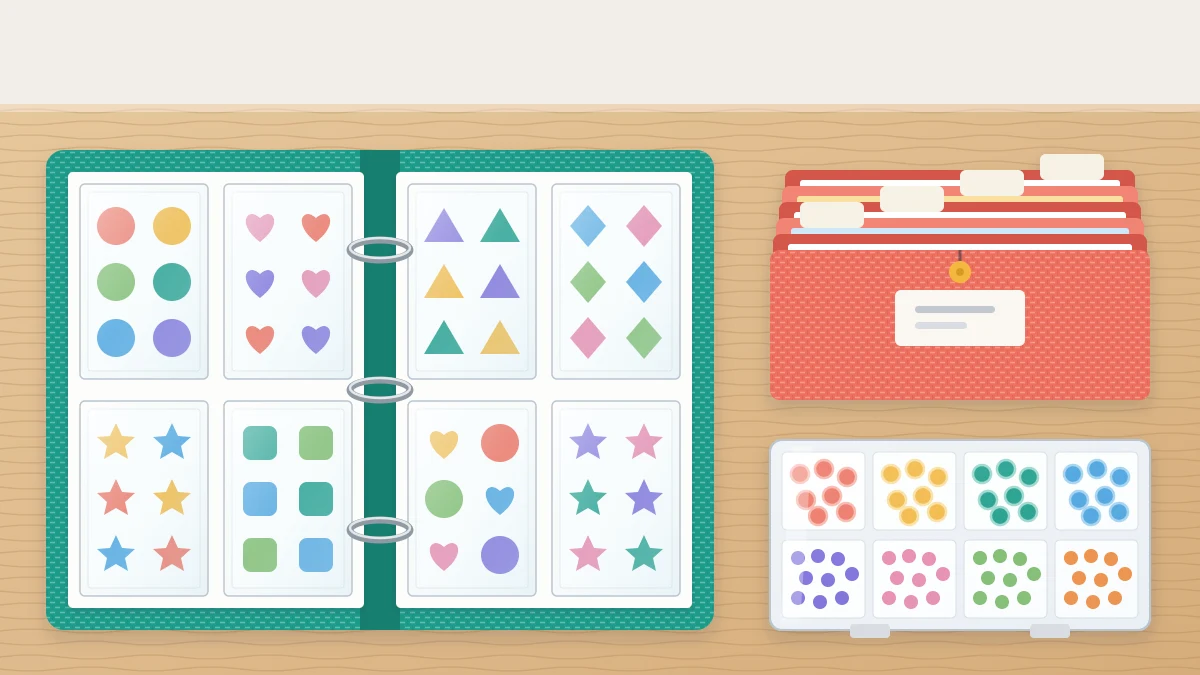
- A ring binder with pocket pages. Clear pockets show both sides, and pages turn like a catalog. Use full-page pockets for large sheets and divided pockets for small ones, with a tabbed divider per category. Best when you like to browse.
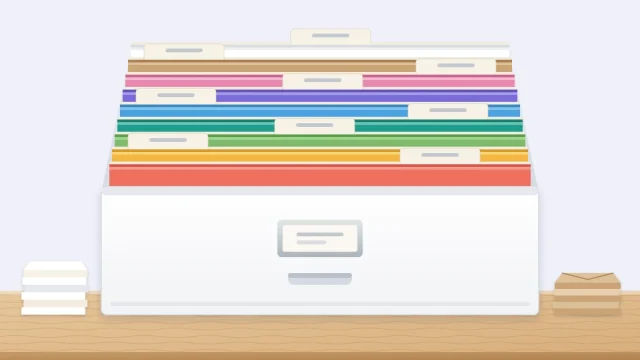
- An accordion file. One pocket per category, no pages to load. It is the quickest to set up and to put away, and it closes for travel. Best for a modest collection of sheets up to letter size.
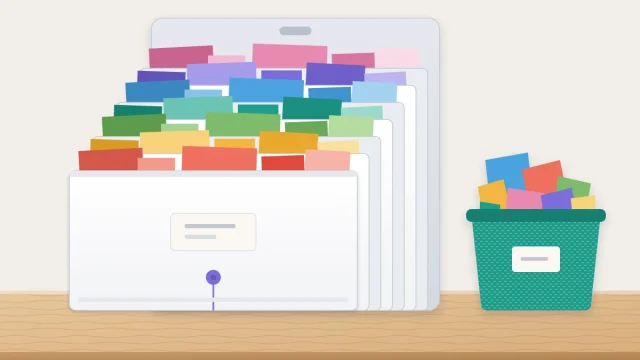
- Upright in a shallow box. Stand sheets on edge behind dividers, like index cards, in a box only slightly taller than the sheets. Best for large collections and for sheets of one size.

Whichever you choose, keep each sheet on its backing and inside its clear wrapper if it has one. Trim away the cardboard header to save space, but keep any part that names a set you may want again. Sheets as large as 12 x 12 in (30.5 x 30.5 cm) are better filed with your paper; see the options for storing scrapbook paper.
Die cuts and ephemera: envelopes inside a case
Loose flat pieces need to be grouped, or they fan out through everything else. Put each group into an envelope or a small zip bag, then stand the packets in a row inside a box.
- A case of small lidded boxes sized for 4 x 6 in (10 x 15 cm) photos works well: one small box per theme, all carried in one outer case.
- A plain shoebox with cardboard dividers does the same job. Cut the envelopes’ flaps off so you can see in from the top.
- Clear zip bags let you identify the contents without opening anything. Press the air out so they stand flat.
Keep each packet thin. Once a bag bulges, pieces bend at the corners; split it into two.
Tiny embellishments: compartments with lids
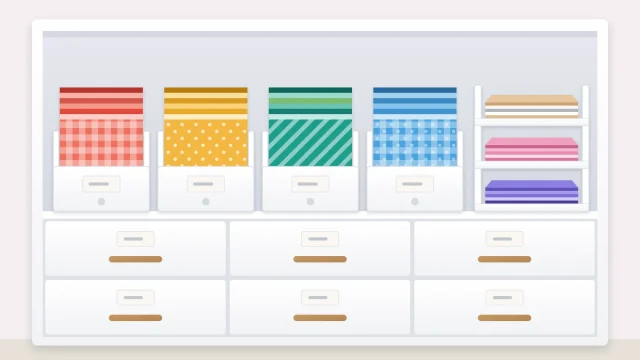
Sequins, enamel dots and brads belong in compartment boxes whose lid closes tightly against the dividers, so pieces cannot travel between sections when the box is tilted. Choose shallow boxes; you should be able to pick up a single piece with tweezers or a fingertip.
- Leave enamel dots and adhesive gems on their backing sheets and cut the sheets to fit a compartment.
- Pour loose sequins and brads straight into compartments, one color or one type per section.
- Small screw-top jars or clean pill organizers are a good free alternative for a few colors.
The guide to choosing craft storage containers explains what to check on a compartment box before you buy several.
Safety note
Tiny embellishments are easy to swallow. Keep the boxes closed when not in use and store them out of reach of young children and pets, on a high shelf or in a cupboard that latches.
Metal dies: magnetic sheets in sleeves
Thin metal dies slide, nest inside each other and vanish into paper piles. A magnetic sheet holds them in place.
- Cut a flexible magnetic sheet to fit a clear sleeve or a zip pocket.
- Arrange one die set on the sheet, cutting edges up, with a little space between pieces.
- Slip a paper insert behind it showing the die-cut shapes or the set name, then slide the sheet into the sleeve.
- File the sleeves upright in a box, or in the same binder as your sticker sheets.
If a die set has matching stamps, store them in the same sleeve so they are never separated.
Choose a sort order: theme, season or color
Use one sort order across sheets, die cuts and dies, so a single category name leads you to everything that goes together.
- By theme (birthday, floral, travel, animals, words and alphabets) suits card makers and scrapbookers who start from an occasion.
- By season (spring, summer, fall, winter, plus holidays) suits planners and journal keepers. Keep the current season at the front and rotate.
- By color suits tiny embellishments in almost every case, because sequins and dots are chosen to match a project.
A workable default: theme for everything flat, color for everything tiny. Add a “mixed” pocket at the back for what fits nowhere, and review it when it fills.
Keep everything flat and away from heat
Sticker adhesive stays usable longest when sheets lie or stand flat, in a room that stays comfortable, away from direct sunlight. Curled sheets lift at the edges and collect dust on the exposed adhesive.
- Do not store stickers on a windowsill, above a radiator, beside a heat tool or in a parked car.
- Do not overfill binders or boxes; pressure can make stickers creep off their backing.
- Store binders upright with the spine vertical, like books, so pages hang straight.
Set it up in one afternoon
- Make the four piles and discard dried-out, dusty or backing-less stickers.
- Write your categories on a slip of paper before filing anything.
- File the sheets first; they are the quickest win.
- Bag the loose pieces by the same categories.
- Fill the compartment boxes last, over the rimmed tray.
For a small collection, one accordion file and one compartment box are enough. For a large one, give each theme its own binder. If you craft away from your desk, move the current season’s pocket and one compartment box into a portable kit; the homemade craft caddy shows how to build one.
Frequently asked questions
What is the best way to store sticker sheets?
A ring binder with clear pocket pages is the easiest to browse, an accordion file is the quickest to maintain, and an upright box with dividers holds the most. All three keep sheets flat and sorted. Choose by collection size and by whether you prefer flipping pages or reaching into a pocket.
How do I keep stickers from losing their stick in storage?
Leave them on their backing sheets, store them flat or upright without bending, and keep them in a comfortable room away from direct sunlight and heat sources. Avoid cramming binders or boxes, because pressure can lift stickers from the backing and expose the adhesive to dust.
How should I store thin metal cutting dies?
Place each set on a flexible magnetic sheet cut to fit a clear sleeve or zip pocket, add a paper insert showing the shapes, and file the sleeves upright in a box or binder. The magnet stops small pieces from sliding out, and matching stamps can share the same sleeve.