DIY Craft Caddy: A Portable Kit Built From Jars and Dividers
Build a grab-and-go craft kit from a handled tote or cutlery caddy, jars and card dividers. Decide the kit list first, arrange it by height, and add a checklist card so it is restocked after every use.
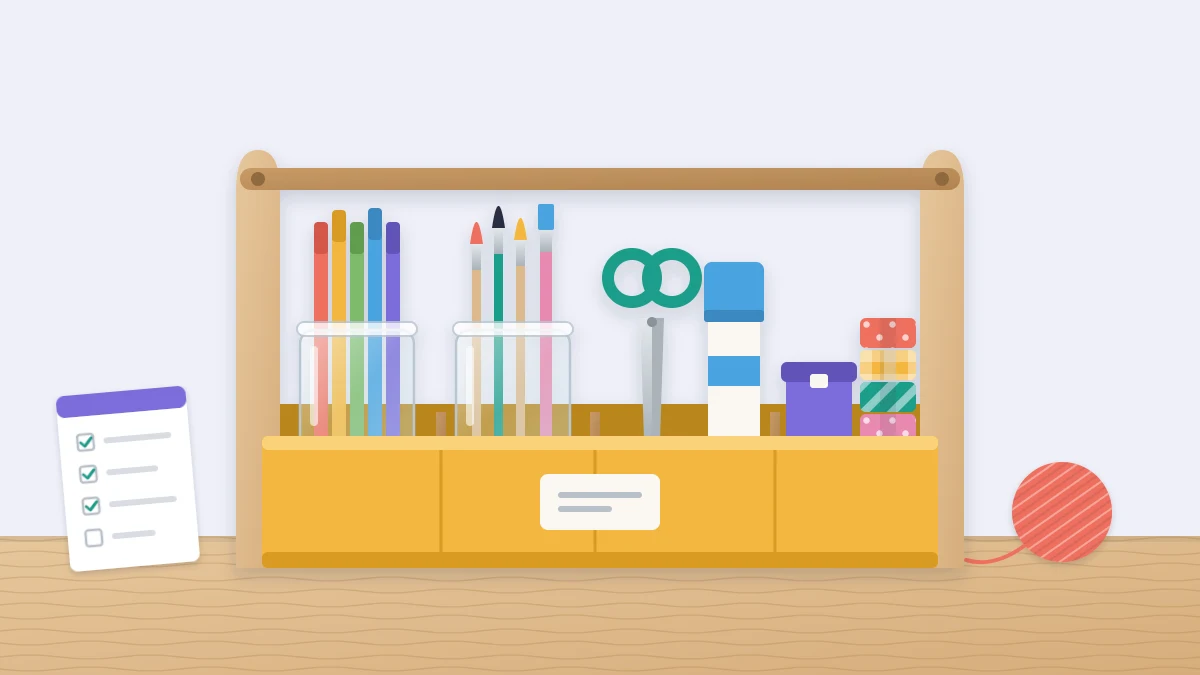
At a glance
What you need
- Handled tote, cutlery caddy or small crate
- Short jars, cups or cut-down boxes
- Small lidded tins or boxes
- Non-slip shelf liner
- Stiff card for dividers
- An index card and pen
If you craft at the kitchen table, your real storage problem is the trip. Supplies live in one room, the work happens in another, and each session starts with four journeys and ends with a table that has to be cleared before dinner. A DIY craft caddy shrinks that to one trip each way: everything a session needs, in one carrier, with one hand free for the door.
You probably own every part already. The build takes about half an hour once you have decided what goes in, and that decision is the part worth slowing down for.
Write the kit list before you pick a container
A caddy is not a small version of your stash. It holds the tools for one kind of session and a working amount of supplies, nothing more. Write the list on paper first, and keep it to about a dozen items. Three examples:
- General kit: scissors, pencil and eraser, ruler, glue stick, tape, a few markers, a small notebook, paper clips.
- Card-making kit: paper trimmer or scissors, bone folder, adhesive runner or glue stick, a black pen, two or three ink pads, a small stack of card bases and envelopes in a zip bag.
- Hook-and-yarn kit: the hooks or needles for the current project, a tape measure, stitch markers and tapestry needles in a small tin, folding scissors, the pattern, and one or two balls of yarn.
Everyday tools you also need at your desk should be duplicates, so the caddy is always complete. Which tools count as everyday is the subject of the guide to craft tool organization.
Choose the carrier
Lay the listed items on a table, pushed together, and measure the patch they cover. That is the floor area your carrier needs. For most kits, something about 12 by 8 in (30 by 20 cm) is enough.
Good candidates from around the house:
- a cutlery caddy with a center handle, which arrives already divided;
- a handled tote or cleaning caddy with one open well;
- a small wooden or plastic crate with hand holes;
- a sturdy basket with a fixed handle.
Test three things before committing. Can you carry it in one hand when it is full? Are the sides at least half as tall as the tallest jar, so nothing topples? Does it fit on the shelf or in the cupboard where it will be kept?
Build the compartments
An open tote becomes a caddy once the inside is divided. Prepare a piece of non-slip shelf liner, some stiff card, scissors and a selection of containers to try.
- Line the base. Cut non-slip liner to fit the floor of the carrier. It stops jars from sliding and rattling when you walk.
- Gather containers. Short jars, plastic cups, clean tins with smooth rims and small boxes cut down to height all work. Choose ones heavy enough to stay upright, and prefer straight sides, which pack together without gaps.
- Dry-fit them. Arrange the containers in the carrier until they fill the floor with as little spare room as possible.
- Close the gaps. Where a space remains, fold a strip of card into a U or a zigzag and wedge it in as a divider, or roll a piece of liner into the gap. Nothing should shift when you tilt the caddy slightly.
- Load and lift. Put the kit in, pick the caddy up by the handle, and check that it hangs level. If it tips, swap a heavy jar to the lighter side.
Arrange by height and reach
Where each thing sits matters as much as whether it fits. Four rules cover it.
- Tall at the back. Rulers, long brushes and knitting needles go in the back row, so they do not hide what is in front or catch your sleeve.
- Small parts in front, with lids. Clips, beads and stitch markers go in lidded tins or small boxes. An open cup of small parts will spill the first time the caddy is bumped.
- Heavy in the middle. Glue bottles and full jars sit near the handle, which keeps the load balanced.
- One long slot. Leave one compartment long enough for flat or awkward items: a ruler, a paper pad, a pattern in a sleeve.

For a yarn kit, hooks and needles travel best in a closed roll or case laid in the long slot, with tips covered. Options are compared in the guide to storing knitting needles and crochet hooks.
Give sharp tools their own compartment
A caddy is carried, set down on low tables and reached into without looking, so sharp tools get stricter treatment here than on a shelf. Scissors go in closed, points down, in a compartment of their own. A craft knife travels only with its cap on or its blade retracted, and a rotary cutter only with its guard closed.
Safety note
A caddy on a kitchen table is within a child’s reach. If children or pets share the space, leave craft knives and other sharp tools out of the kit, or park the whole caddy on a high shelf between sessions.
Keep adhesives to the simple ones, such as a glue stick or tape, with caps on tight and bottles standing upright.
Add a checklist card
The caddy is only useful if it is complete when you grab it. Copy your kit list onto an index card and tuck it into a pocket or tape it inside one end. At the end of each session, read down the card as you pack up.
- Is every tool back in its compartment?
- Is anything used up or running low? Refill it from the main stash now, or write it on a shopping list.
- Has anything been added that is not on the card? Take it back to its home.
This takes about two minutes. When the kit changes, rewrite the card.
Scale it to how you work
If you do one portable craft, one caddy is the whole answer. If you do several, resist making one giant kit. Two or three small caddies, one per craft, each with its own card, are lighter and faster than a single heavy one you have to dig through.
And if the kit keeps growing past what you can carry comfortably in one hand, you have outgrown a caddy. Supplies on wheels are the next step up, and the guide to craft cart organization shows how to set one up with the same one-job rule.
Frequently asked questions
What can I use to make a craft caddy?
Any sturdy carrier with a handle works: a cutlery caddy, a cleaning tote, a small crate with hand holes or a basket. Divide the inside with short jars, cups and cut-down boxes, and stop them sliding with a piece of non-slip shelf liner and folded card wedged into the gaps.
What should I put in a portable craft kit?
Only what one kind of session needs, usually about a dozen items: the tools you always reach for, plus a small working amount of supplies. Write the list first, lay everything out to check it fits, and leave the bulk of your stash in its usual storage.
How do I keep a craft caddy from getting messy?
Keep a checklist card in the caddy and read it as you pack up. Return each tool to its compartment, refill anything running low, and take out whatever is not on the list. Small parts stay in lidded containers so a bump does not scatter them across the kit.