Bead Storage Ideas: How to Sort and Store Beads and Findings
Choose one sort order for your beads, then pick from four container options: compartment boxes, small jars, stacking rounds or upright tubes. Includes a step-by-step sorting session and how to label sizes.
At a glance
What you need
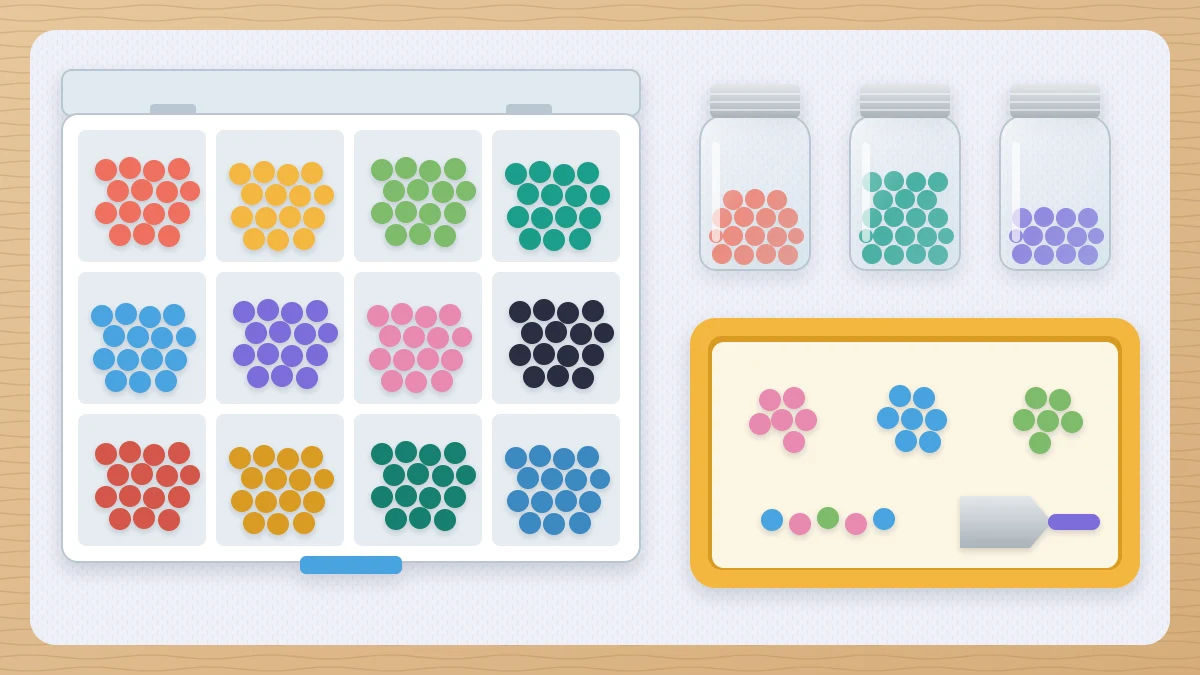
- Compartment boxes with latching lids
- Small screw-top jars
- A rimmed tray lined with felt
- Small scoop or folded card
- Blank adhesive labels and a fine marker
Beads arrive in whatever they were sold in: flip-top tubes, tiny zip bags, strands on cord, a paper envelope from a swap. Put them all in one box and every project begins with ten minutes of digging for the size you are sure you own.
The bead storage ideas that work have one thing in common, and it is not the container. It is a sort order you choose once and never mix with another. Settle that first, then pick the container that suits how many beads you have and how you like to work.
Decide the sort order before anything else
There are two sensible orders. Pick one for the whole collection.
- Type and size first, then color. All size 11 seed beads together, arranged by color within the group; all 6 mm rounds together; all bugles together. This suits you if you work from patterns that name a specific bead, because you go straight to the size and choose a shade.
- Color first, then type and size. All the blues together, whatever their shape. This suits you if you design by palette and enjoy seeing what is on hand in one color.
If you are unsure, choose type and size first. Two blues that look alike are easy to tell apart; a size 11 and a size 10 seed bead mixed in one compartment are not, and separating them is slow work.
Whichever you choose, file every new purchase the same way.
Four container options
Compartment boxes
A flat box with a hinged lid and a grid of sections is the standard choice. Fixed dividers are molded in, so nothing can slide beneath them, which makes them the safer pick for seed beads. Adjustable dividers let you make long sections for bugles or wide ones for focal beads, but check that each divider sits tight against the base.
Small screw-top jars in a tray
Individual jars let you take just the three colors you need to the table. Stand them in a shallow tray or a drawer so they move as a set, and label the lid if you look down on them or the side if they sit on a shelf.
Stacking round containers
These screw together into a tower, each section acting as the lid of the one below. They hold a lot in a small footprint and travel well. The drawback is access: reaching the fourth pot means unscrewing three. Use them for a set you want together, such as one color family.
Tubes stored upright
If your beads came in tubes, keep them there. Stand the tubes cap-up in a holder, a block with drilled holes or a small box cut down to about two thirds of the tube height, so every color shows and none roll away.
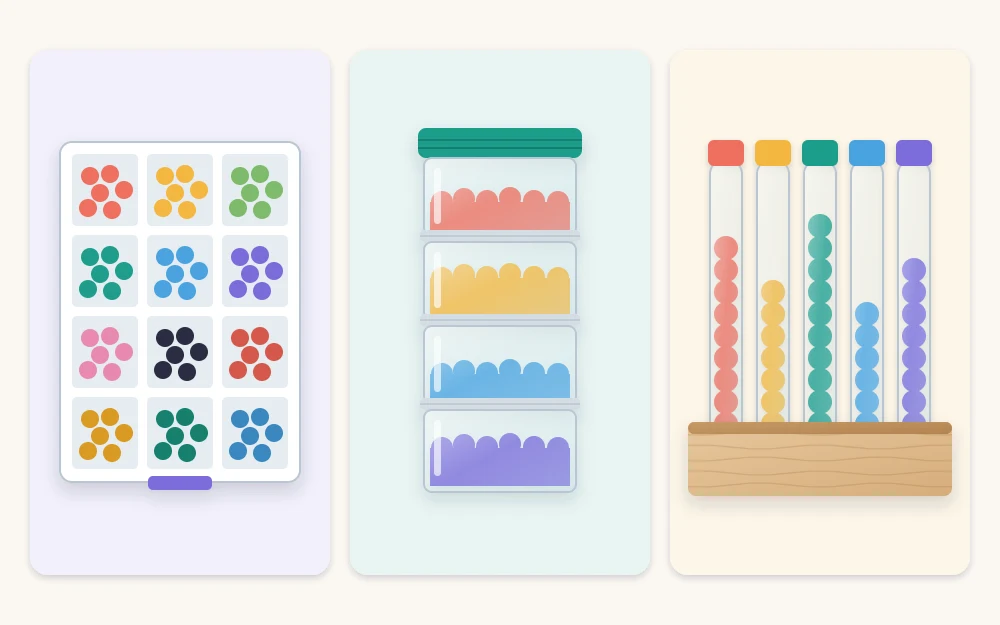
For how these compare with larger bins and drawer units, see the guide to choosing storage containers by supply.
What to prepare for a sorting session
- A bead mat or a rimmed tray. A baking sheet lined with a piece of felt or a plain dish towel works well.
- A small scoop or a folded card for moving beads.
- Your empty containers and blank labels.
- Good light and a table away from the edge of a carpet, where dropped beads vanish.
- A spare jar named “to sort” for anything you cannot identify yet.
How to sort the collection
- Gather every bead in the house into one place, including half-used project bags.
- Set findings, wire, thread and tools to one side. They are sorted separately.
- Make the first split according to your sort order: piles by type and size, or piles by color.
- Take one pile onto the tray and make the second split.
- Move each group into its own compartment, jar or tube. Fill a compartment to about three quarters at most, so the lid closes without pressing on the beads.
- Label the group before starting the next pile.
- Put mixed leftovers into one “bead soup” jar instead of trying to separate them all.
Work over the tray at every step and open only one bag or tube at a time.
Keep findings, wire and thread separate
Findings are chosen by job and metal color, not by bead color, so give them their own box. Sort clasps, jump rings, crimps, ear wires and head pins into separate sections, with one metal finish per row if you keep several.
Wire and stringing material stay tidy on their original spools. Store spools on edge in a shallow box or zip bag with the loose end taped down, and keep the spool label, because gauge is hard to judge by eye. Beading thread and needles go in a small closed case. Pliers and cutters live together in a pouch or caddy, cutters closed.
If you bead in more than one spot, a portable kit holding the current project, the tools and a mat saves repacking; the DIY craft caddy built from jars and dividers is one way to make it.
Label sizes, not just colors
You can see a bead’s color. You cannot see that it is a size 11 and not a size 10, or a 4 mm and not a 3 mm, so size is the first thing the label must record. Add the type and, if you may want to buy more, the color name or number from the original packaging.
For compartment boxes, a strip label on the lid above each row is easier than labeling every section. A simpler option is to cut the label from the original bag or tube and tuck it into the compartment. The guide to a labeling system that lasts covers label types and placement.
Small parts, children and pets
Safety note
Beads and findings are small enough to be swallowed. Keep containers closed when you are not working, store them on a high shelf or in a lockable box where young children or pets are around, and check the floor after every session.
Scaling up or down
A small collection fits in one or two compartment boxes: one for beads, one for findings. A growing collection does better with one box per bead type, stored on edge like books with the label on the spine. A large stash suits a shallow drawer unit with one drawer per type or color family, holding tubes or jars upright.
When new beads come in, file them the same day. A bag left on the table is how the one-box muddle starts again.
Frequently asked questions
Should I sort beads by color or by size?
Sort by type and size first if you follow patterns, because the pattern names the bead and you then pick a shade. Sort by color first if you design from a palette. Either works as long as the whole collection follows the same order and new beads are filed the same way.
Is it better to keep beads in their original tubes?
Often, yes. Tubes are already labeled with size and color, they close securely and they take little space when stood upright in a holder. Move beads out of thin bags that tear or will not reseal, and keep the original label with them when you do.
How do I stop beads from mixing between compartments?
Choose a box whose lid closes flat against the tops of the dividers, fill each section no more than about three quarters, and carry the box level with the latch fastened. For the smallest beads, fixed molded dividers are more reliable than removable ones.