Craft Pegboard Ideas: How to Plan a Wall of Tools
Plan a pegboard on paper before it goes on the wall: what earns a hook, where each cluster sits, which accessory suits which tool, and how to approach mounting or a no-drill alternative.
At a glance
What you need
- Pegboard panel with its mounting hardware
- Paper cut to the panel size
- Pencil and tape
- Straight and double hooks
- Small shelves, cups or bins
- A dowel bar for ribbon or tape
A pegboard looks like the simplest storage there is: a panel of holes and a bag of hooks. The disappointing ones all fail the same way. Tools were hung in the order they came out of the drawer, the heavy things ended up at the top, and every hook was filled on day one. The craft pegboard ideas that last come from planning the layout flat, before a single screw goes into the wall.
This plan takes you from a pile of tools to a finished wall in order: choose what earns a place, arrange it on paper, pick the accessory for each job, then mount the panel and transfer the layout.
Decide what earns a place on the wall
A pegboard is prime space, directly in front of you while you work. Reserve it for tools and supplies you use at least weekly and that hang or stand well: scissors, rulers, pliers, punches, tape, ribbon, pens and brushes in cups, small jars.
Leave off anything that is heavy, rarely used or better lying flat, such as paper, fabric and large machines. If you have not yet sorted tools by how often you use them, the guide to craft tool organization explains that sort. The wall is the home for the “weekly” group and the best of the “daily” group.
Plan the layout flat first
Prepare a sheet of paper the size of your panel (tape wrapping paper or newspaper sheets together), a pencil, and every tool on your shortlist.
- Lay the paper on the floor or a table and mark which edge is the top.
- Group tools by task, not by type. A cutting cluster, a measuring and marking cluster and an adhesives and tape cluster are typical. Three or four clusters are plenty.
- Place the clusters by height. Whatever you reach for most goes in the band between shoulder and eye level when you are seated or standing at the desk, whichever way you usually work. Heavy items go low. Light, occasional items go at the top.
- Place by hand. Put the tools your dominant hand grabs on that side of the panel.
- Space them out. Leave about 1 in (2.5 cm) around each tool so you can lift it off without knocking its neighbor.
- Trace around each tool in pencil, then take a quick snapshot of the layout.
- Check for empty space. Roughly a quarter of the sheet should still be blank. If it is not, remove the least-used tools until it is.
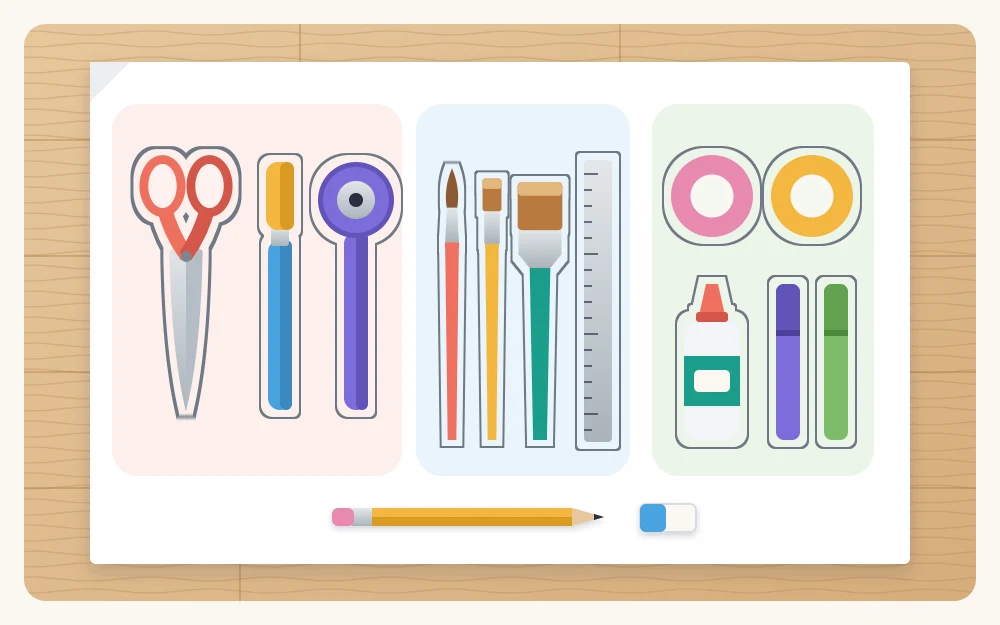
Match the accessory to the job
Hooks alone waste a panel. Go through your traced layout and note which accessory each outline needs.
| Accessory | Best for | Placement note |
|---|---|---|
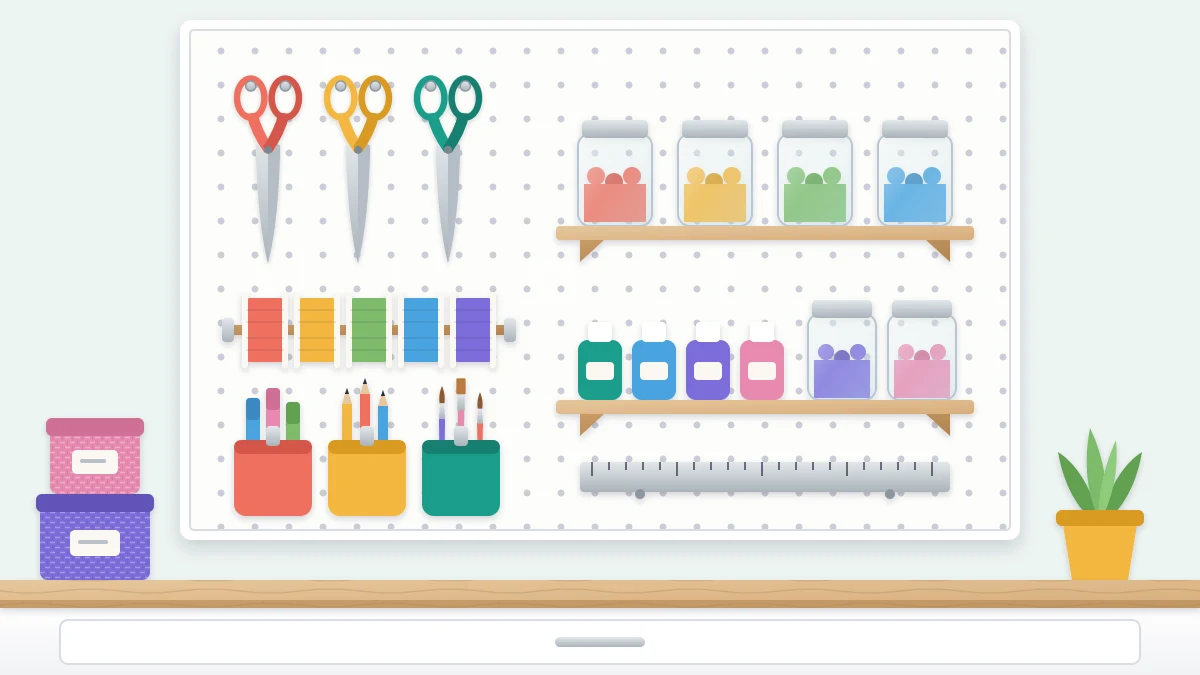
| Straight hooks | Scissors, hole punches, tape rolls, anything with a loop or handle | One tool per hook |
| Double hooks | Rulers, pliers, hammers and wider tools that need two points of support | Keeps tools from swinging |
| Small shelves | Jars, ink pads, small bottles | Low on the panel |
| Cups and bins | Pens, brushes, clips, short tools | At or below eye level so you can see in |
| Dowel bar | Ribbon spools, washi and other tape | Along the bottom so ends hang free |
Panels come with different hole sizes and spacing, and metal or plastic panels often use slots instead of round holes. Buy accessories made for your panel. A hook that almost fits will fall out every time you lift a tool.
Hang sharp tools so the edges are covered
Scissors hang closed, points down, on their own hook. A craft knife goes in a cup with its cap on or its blade retracted, and a rotary cutter hangs with its guard closed. In a home with children or pets, keep these in the top row of the panel or off the wall altogether in a lockable box. The guide to storing scissors and craft knives safely goes through each tool.
Mount the panel
How a panel attaches depends on the panel and on your wall, so the instructions that come with it are the ones to follow. In general terms:
- Fix the panel into wall studs where you can. Where you cannot, use anchors suited to your wall type, whether that is drywall, plaster or masonry.
- Keep the gap behind the board. Hooks need space behind the holes to seat, which is why hardboard panels are mounted on spacers or a frame. Many metal and plastic panels have this gap built in.
- Stay within the manufacturer’s stated weight limit, counting the accessories and everything on them.
- Check for wiring and pipes before drilling, and get help lifting a large panel.
Safety note
Follow the panel manufacturer’s instructions, fix into studs or use anchors made for your wall type, and never load the panel beyond its stated weight limit. If you are unsure what your wall is made of, ask someone qualified before drilling.
Set the height from your chair, not from the ceiling. The bottom edge should clear whatever sits on the desk, and the top row should be reachable without standing on anything.
If you rent or cannot drill
You do not need a wall. A freestanding panel on feet stands at the back of the desk, a clamp-on panel grips the desk edge, and a framed panel can lean on a shelf with its base braced so it cannot slide. These are smaller, so be stricter: daily tools only, nothing heavy, and place the panel where a bump will not tip it. A compact panel like this is also one of the more useful ideas for a small craft room, because it lifts tools off a narrow desk.
Transfer the layout and keep it working
Hold or tape the paper plan against the mounted panel and set each accessory where its outline falls. Hang the tools, then use the board for about two weeks before changing anything.
After that, adjust. A tool you keep leaving on the desk needs a lower or closer hook. A hook you never touch can give up its spot. Scale the plan to your collection: for a small set of tools, one panel about 24 in (60 cm) wide with two clusters is enough, and for a large one, add a second panel beside the first instead of crowding one. Keep that blank quarter. It is where next year’s tools will go.
Frequently asked questions
How high should a pegboard go above a craft desk?
Set it by your reach, not by the room. The bottom edge should clear lamps and containers on the desk, and the top row should be reachable from your usual working position without stretching or standing on anything. Put the tools you use most in the band between shoulder and eye level.
Can I use a pegboard if I rent and cannot drill into the wall?
Yes. Freestanding panels on feet, panels that clamp to the desk edge and framed panels that lean on a shelf all work without drilling. They are smaller and less stable than a mounted panel, so keep them for light daily tools and place them where they will not be knocked over.
How much can I put on a craft pegboard?
That depends on the panel, the fixings and the wall, so there is no single answer. The manufacturer states a weight limit for the panel and often for individual accessories. Stay within it, keep heavier items low, and store anything bulky or heavy on a shelf or in a drawer instead.