Craft Storage Containers: How to Choose Bins, Boxes and Drawers
Before you buy bins, measure your shelves and match the container type to the supply. A comparison of six container types, with rules for clear versus opaque, lids, stacking and sizes that fit together.
A cartful of matching bins feels like progress until you get home and find they are a finger-width too deep for the shelf, too tall for the drawer and far too large for the buttons they were bought for. The supplies end up back in their old boxes and the new bins hold other bins.
Choosing craft storage containers well is mostly a matter of order: measure the space, match the container type to the supply, then buy a small number and live with them before buying the rest. This guide covers types only. Brand matters far less than shape, size and whether the lid suits how you work.
Measure before you buy
Take three inside measurements of every shelf and drawer that will hold containers: width, depth and height. Measure between the side panels, not across the outside of the furniture, and measure a drawer’s usable height below the frame above it.
Then allow for clearance:
- About 1 in (2.5 cm) above a container on a shelf, so you can tip it out, and more if the lid lifts off while it sits there.
- A little slack in width, so two containers side by side do not jam.
- Container depth equal to or slightly less than the shelf depth. A bin that overhangs gets knocked; one much shorter leaves a strip where things pile up behind it.
Cube shelf units are a common trap. Many have openings of roughly 13 in (33 cm), but they vary, and a bin sold as cube-size may not fit yours. Write the numbers down and take them with you.
The main container types compared
| Type | Suits | Watch for |
|---|---|---|
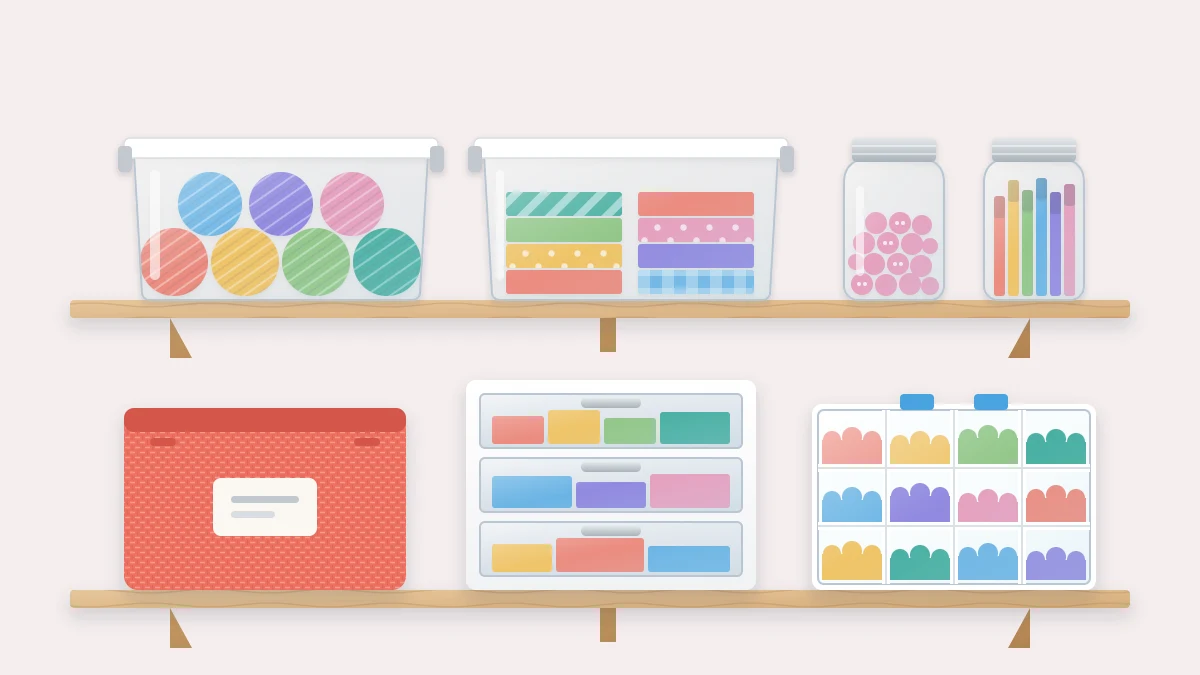
| Clear lidded boxes | Yarn, fabric scraps, kits and anything stored for months | Lids that only fit their own size; boxes that taper and waste shelf width |
| Open fabric bins | Bulky, light supplies you grab often: yarn in use, felt, stuffing | Soft sides that sag on a shelf; contents hidden unless labeled |
| Shallow drawer units | Flat supplies in one layer: paper, stamps, thread, tools | Drawers deeper than about 4 in (10 cm), where things get buried |
| Compartment boxes | Small parts sorted by kind: beads, findings, buttons, brads | Dividers that lift and let tiny items slide underneath |
| Jars | Upright tools and supplies you want to see: brushes, pencils, buttons | Glass on high shelves or near the table edge |
| Reused shipping boxes | Testing a system, rarely used supplies, off-season items | Weak corners under a stack; damp areas, where cardboard softens |
Two supplies have needs specific enough to earn their own guides. For tiny parts, see how to sort and store beads and findings. Fabric usually does better folded and filed than boxed, as explained in storing fabric so every piece stays visible.
Clear or opaque
Clear containers win whenever you choose a supply by looking at it. Yarn, ribbon, beads, paint and scraps are picked by color, so seeing them through the side saves opening six boxes to find one.
Opaque containers are the better choice in three cases:
- The contents are visually messy and the shelf is on show in a shared room.
- The supply fades and the shelf gets sun during the day.
- The contents are uniform, such as a box of white envelopes, where seeing them tells you nothing.
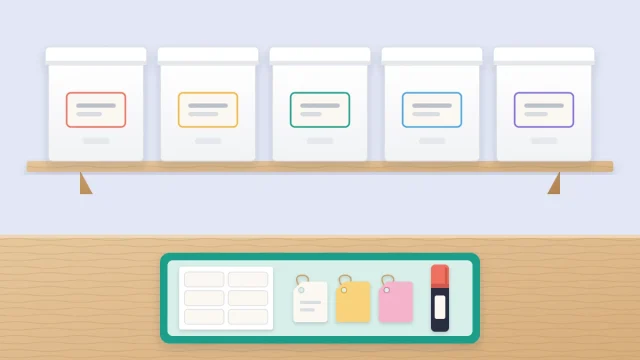
An opaque container depends entirely on its label. If you choose fabric bins or solid boxes, plan the labels at the same time, using the guide to a simple labeling system.
When lids help and when they slow you down
A lid adds one step every time you use the container, and two if another box is stacked on top of it. That cost is worth paying for some supplies and not for others.
Use lids for anything stored long term, anything stacked, small parts that would spill, and supplies you want to keep free of dust or out of a pet’s reach.
Skip lids for supplies you reach for in most sessions. An open bin, an open jar or a drawer lets you put things back with one hand, and things that are easy to put back are the things that get put back.
A practical test: if you notice a lid sitting beside its box for a week, that supply wants an open container. Swap it.
Stacking limits
Stacking saves floor and shelf space, and it is also where storage goes wrong. A few rules keep stacks usable.
- Heaviest container at the bottom, lightest at the top, every time.
- Stack only containers designed to nest lid-to-base, or boxes with flat, rigid lids.
- Keep stacks to two or three high for anything you open regularly. Reaching the bottom box of five means moving four.
- Never stack so high that the pile wobbles or leans. If it moves when you touch it, take one off.
- Do not stack on soft fabric bins or on boxes whose lids bow under weight.
Safety note
Keep heavy containers on the lowest shelves and anchor tall shelving units to the wall as their manufacturer directs. Follow any stacking or weight limit printed on the container or the furniture.
Sizes that fit together
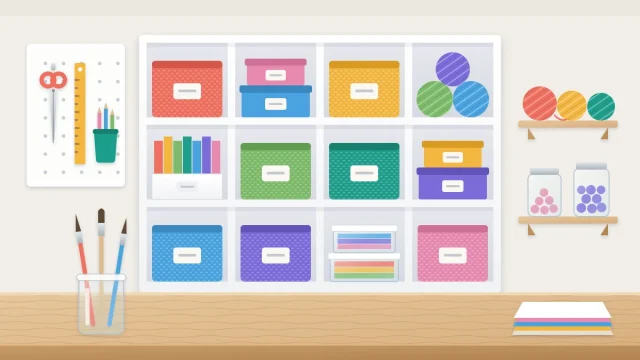
A shelf of containers in unrelated sizes always leaves gaps. Choose a small family of sizes that work as multiples of each other: two small boxes take the footprint of one medium, and two medium take the footprint of one large. Then any combination fills the shelf edge to edge and can be rearranged later.
Two or three sizes are enough for most rooms. Keep to one shape as well. Straight-sided rectangular boxes use a shelf fully; round tubs and strongly tapered bins leave wedges of empty space between them.
Buy a few, test, then commit
Before buying twenty of anything, buy two or three, or mock up the system with shoeboxes and shipping boxes cut to the planned size. Use them for about two weeks and watch for the signs:
- You leave the lid off. Switch to an open type.
- You dig to the bottom every time. Go shallower.
- You cannot remember what is inside. Go clear, or label better.
- It is awkward to lift down when full. Go smaller, or move it lower.
Once a type passes, check that it is a standard line you can add to later, and buy what you need plus one or two spares. Where each filled container finally sits depends on how often you use it, which is part of planning your zones and overall room layout.
Frequently asked questions
Are clear or opaque containers better for craft supplies?
Clear is better for anything you choose by color or appearance, such as yarn, beads, ribbon and paint, because you can find it without opening lids. Opaque suits shelves in shared rooms, supplies on a sunny shelf and uniform contents. Opaque containers always need a clear label on the front.
What size containers should I buy for a cube shelf?
Measure the inside of your own cubes first, since openings differ between units. Choose a bin slightly narrower and shorter than the opening so it slides out easily, and about as deep as the shelf. Buy one to test the fit before buying a full set.
Can I use cardboard boxes for craft storage?
Yes. Shoeboxes and shipping boxes are useful for trying out a system and for supplies you rarely need. Keep them in a dry spot, do not stack heavy things on them, and label the front. Replace any box whose corners have started to give way.