How to Store Fabric So You Can See Every Piece
Replace deep fabric piles with uniform folds filed upright like books. Covers sorting by type and color, folding around a board or ruler, handling fat quarters and large cuts, and tagging yardage.
At a glance
What you need
- Flat boards about 7 x 10.5 in, or a wide ruler
- A tape measure
- Small paper tags and safety pins
- A shallow box for fat quarters
- Bookends
A stack of fabric has exactly one visible piece: the one on top. Everything below it is found by lifting, tugging and restacking, which is why the bottom of a deep pile turns into fabric you forgot you bought. The answer to how to store fabric so that it gets used is to stop stacking it.
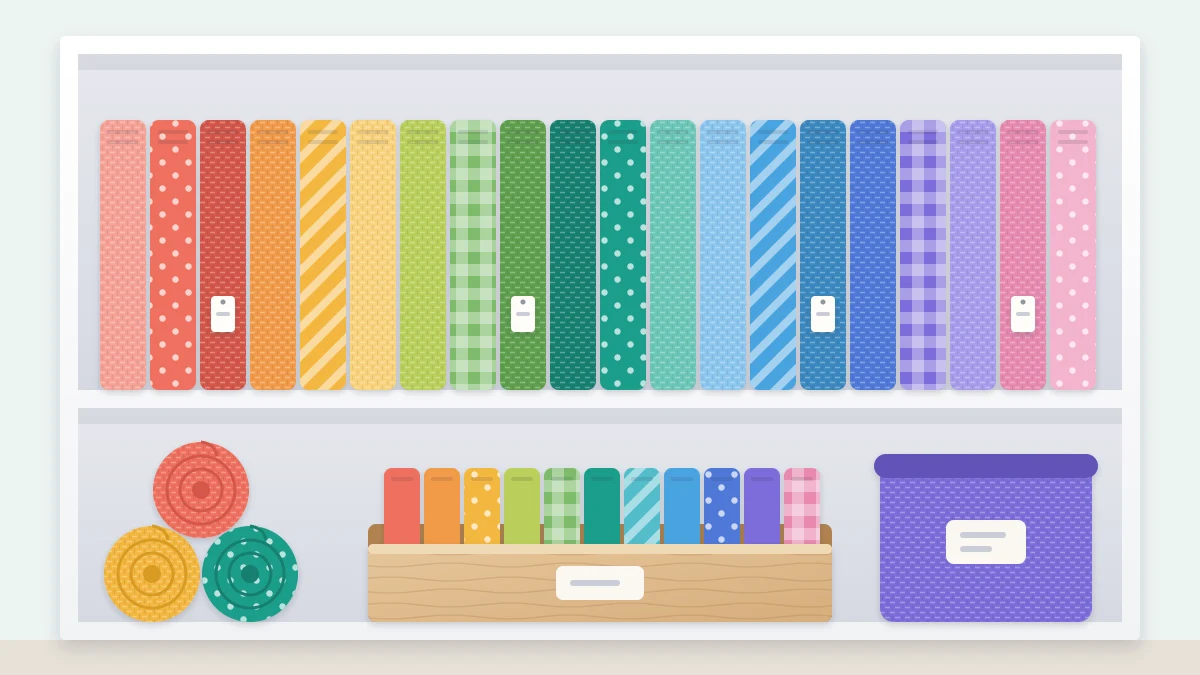
The method here has two parts. Fold every piece to the same width, then stand the folded pieces on edge like books, so one folded edge of each faces you. It works on an ordinary bookshelf, in a cube unit or in a bin.
Sort first: type, then color
Folding goes faster when the fabric is already in groups, so sort before you fold. Make one pile per fabric type, because type decides what a piece can become:
- Quilting cotton and other light woven cottons
- Knits such as jersey, rib and fleece
- Apparel wovens such as linen, rayon and shirting
- Home decor weights: canvas, upholstery, denim
- Special fabrics: slippery, sheer, sequined or anything that needs gentle handling
Inside each type, arrange by color in spectrum order with white, cream, gray, brown and black at the end. File prints by their background color, and give multicolor prints with no clear background a short section after the neutrals.
Pull out anything under about 1/4 yd (roughly 25 cm) as you go. Pieces that small do not fold to a standard size and belong in your scrap sorting system instead.
Fold every piece to one width
You need a folding template and a clear table. Two templates work well:
- A flat board about 7 x 10.5 in (18 x 27 cm), the size sold as backing boards for comic books. The board stays inside the fabric and keeps it stiff. Choose boards described as acid-free if the fabric will sit for years.
- A wide ruler about 6 in (15 cm) across, such as a quilting ruler. You wrap the fabric around it and then slide it out, so one ruler folds the whole stash at no extra cost.
- Lay the fabric on the table folded selvage to selvage, the way it comes off the bolt. For quilting cotton that gives a strip about 22 in (56 cm) wide.
- Fold it in half lengthwise again, bringing the fold to the selvages. The strip is now close to the height of the board.
- Place the board or ruler across one end and wrap the fabric around it, keeping the edges lined up and the tension even but not tight.
- Tuck the loose end under itself or hold it with a clip. With the ruler method, slide the ruler out and fold the flat bundle in half once.
- Stand the piece on its long edge with the smooth fold facing forward.
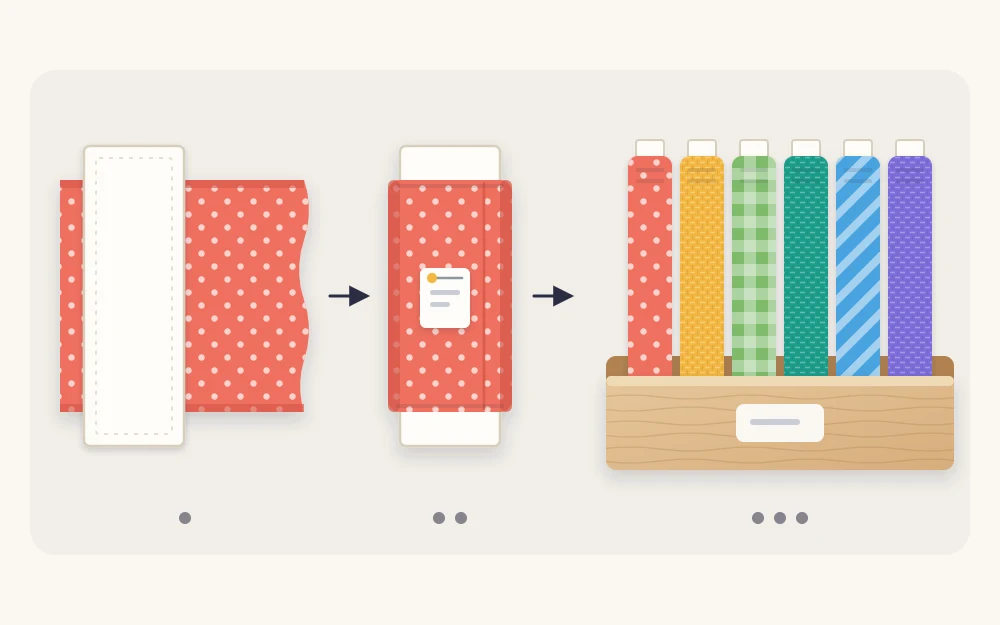
Wider fabric, such as 60 in (150 cm) knits, needs one extra lengthwise fold before wrapping. Do not press hard creases into the bundle; firm, flat folds are enough.
File the folded pieces upright
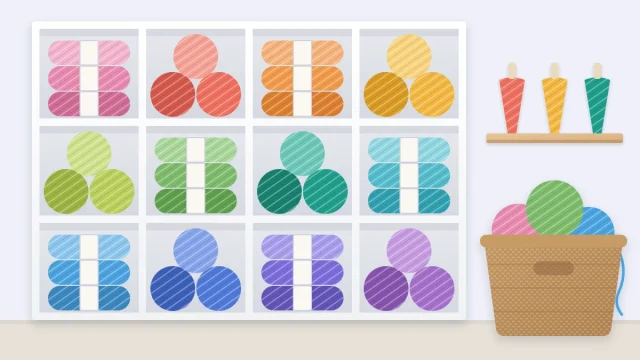
A shelf about 12 in (30 cm) deep takes board-wrapped fabric with the fold facing out and nothing hidden behind it. On deeper shelves, do not start a second row behind the first.
Two rules keep the rows working:
- Fill to about nine-tenths. You should be able to slide one piece out with two fingers without dragging its neighbors along. If you have to push to return a piece, the row is too full.
- Support the ends. A bookend or a spare box stops a half-empty row from slumping.
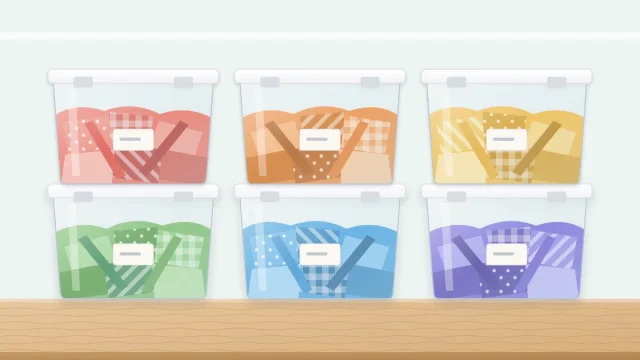
Without shelves, file the same way in bins, standing the pieces in a single row with the folds facing up so you look down on every edge. For help matching bin sizes to shelf sizes, see the guide to choosing bins and boxes.
Fat quarters, precuts and large cuts
Standard folding suits cuts between about 1/2 yd and 4 yd (roughly 0.5 to 3.5 m). Everything else gets its own arrangement.
- Fat quarters: fold each one in thirds, then in half, to a small rectangle and file upright in a shallow box, about shoebox height, sorted by color. A fat quarter is too short to wrap around a board.
- Precut strips and squares: keep each bundle tied or in its wrapper so the set stays complete, in a second shallow box.
- Large cuts over about 4 yd: fold them over the bar of a sturdy clothes hanger in a closet, or roll them around a cardboard tube and stand the tubes in a tall basket.
- Special fabrics: roll rather than fold anything that keeps crease marks, and store the rolls lying flat.
Note the yardage on every piece
A folded edge shows color and print but not length, and unfolding to measure undoes your work. Measure each piece once, before folding, and record it.
- Write the length and width on a small paper tag and slip it under the last wrap, or fasten it at the selvage with a safety pin.
- Add the fiber content and whether the piece has been prewashed if you know them.
- When you cut from a piece, cross out the old figure and write the new one before it goes back.
Tip
Put the tag in the same corner on every piece. You can then run a finger along a row and read lengths without pulling anything out.
Choose a clean, dry, shaded spot
Fabric on open shelves is on show, which is the point, but folded edges that face a sunny window can fade along the fold line. Place the shelf on a wall that direct sun does not reach, or hang a plain curtain or roller blind across the front of the unit.
Keep fabric off the floor and away from damp walls, basements and steamy rooms. Keep thread, pins and other notions in their own place nearby; the guide to organizing sewing supplies covers those.
Scaling the system up or down
A small stash of a dozen or so pieces fits in one bin or one cube. Fold with a ruler, skip the type sort and file by color.
A large stash gets one shelf per fabric type, with the type you sew most at eye level. If a type outgrows its shelf, that shelf is the limit: finish or pass on a piece before adding another.
Refold as you go rather than in one big session. Every time a piece comes out for cutting, it goes back wrapped, tagged and on edge.
Frequently asked questions
Is it better to fold fabric or roll it?
Folding to a uniform width suits most woven cottons and knits, because the pieces stand on edge and can be flipped through. Rolling is the better choice for fabrics that hold crease marks and for very long cuts, which are easier to manage on a cardboard tube than in a thick folded bundle.
Do I have to buy boards to fold fabric neatly?
No. Wrapping fabric around a wide ruler and sliding the ruler out gives the same uniform width with nothing left inside. Boards add stiffness, which helps thin pieces stand up on an open shelf, but pieces in a snug bin support each other without them.
Should fabric be washed before it is stored?
That is a sewing preference rather than a storage rule, but storage is easier if you are consistent. Either prewash everything as it comes home or nothing until use, and note the choice on the tag so you never have to guess whether a piece has been washed.