How to Keep a Craft Room Organized: A 10-Minute Reset Routine
Why tidy craft rooms slide back, and the routine that stops it: a 10-minute reset after each session, a weekly inbox check, a seasonal review, and a fix for any home that keeps being ignored.
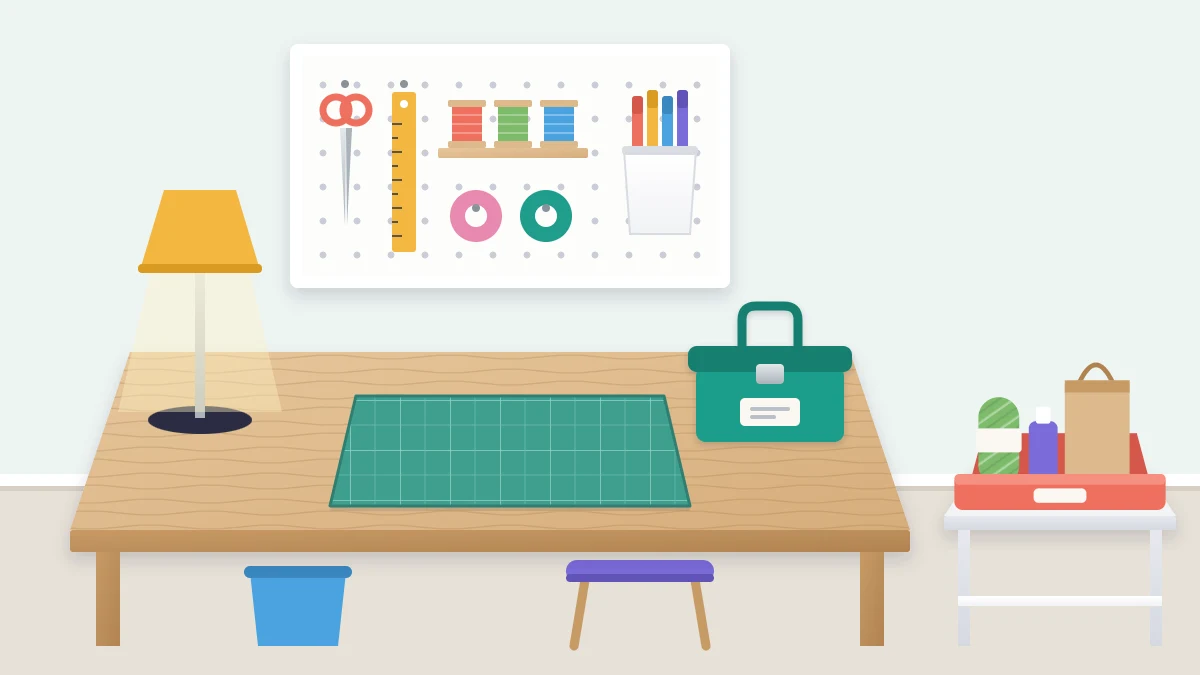
The big tidy is the easy part. You had a free weekend, everything got a bin and a label, and for a week or two the room looked the way you wanted. Then a project ran late, a delivery arrived, and a month on, the table is buried again. If that sounds familiar, the system did not fail because you are untidy. It failed because nothing in it was designed for the end of an ordinary session.
Knowing how to keep a craft room organized comes down to two things: removing the three causes of backsliding, and running a short reset that takes about 10 minutes. Neither involves reorganizing anything.
Why organized rooms slide back
Look at where the mess gathers and you will usually find one of three causes.
- No landing zone. New purchases, mail-order boxes and things carried in from other rooms have no official place to wait, so they wait on the work surface.
- Containers that are too full. Putting something back into a packed bin takes two hands and some rearranging. After a few tries, things get set on top or beside it instead.
- Homes that are hard to reach. If returning the scissors means moving a stack, opening a lid and reaching to the back, the scissors will stay on the table.
The routine below handles the daily drift. The sections after it deal with each cause.
The 10-minute reset
Do this at the end of every session, before you leave the room. Set a timer the first few times. Ten minutes is a ceiling, and on most days it takes less.
- Tools home. Every tool goes back to its own spot: scissors closed, craft knives capped or retracted, lids on pens and glue. Start here because tools are the things you will need first next time.
- Scraps sorted or binned. Offcuts worth keeping go into the scrap container. The rest go in the trash or recycling. Do not leave a “maybe” pile.
- Supplies back. Return what you took out to its bin. Read the label as you do it, so things do not slowly migrate into the wrong container.
- Project parked. The unfinished piece, its pattern and its materials go into one project container and onto its shelf. The guide to work-in-progress storage explains how to pack it so you can pick up where you stopped.
- Surface cleared. Wipe the table. Only the things that live on it stay, such as a lamp, a mat and a closed caddy.
If you run out of time partway through a session, stop about 10 minutes early. A reset skipped “just this once” is how the pile starts.
Tip
Tie the reset to something that already happens: the end of a podcast episode, the kettle boiling, or switching off the work lamp. The lamp goes off last, after the table is clear.
Give new things an inbox
A landing zone is one tray or bin, placed near the door, with a single purpose: holding things that have arrived but have not been put away. New supplies, returned tools, a pattern someone lent you. It keeps arrivals off the work surface and tells you at a glance how much is waiting.
Keep it small on purpose. A shallow tray about the size of a sheet of paper fills quickly, and a full inbox is your cue to empty it. Remove packaging before things go in, so you can see what is there.
The weekly 15-minute check
Once a week, on a fixed day, spend about 15 minutes on what the daily reset does not cover.
- Empty the inbox. Each item goes to its home. If something has no home, decide now where its category lives or whether it should stay at all.
- Clear the flat surfaces. Check the top of the shelf unit, the chair, the windowsill and the floor by the door. These are where “for now” piles settle.
- Empty the scrap bin and the trash.
- Look at the project shelf. Count what is parked. If the number has grown, choose one to finish before starting another.
- Note what is running low while you can see it.
One in, one out for full containers
A container that was comfortably full when you set it up has no room for additions. So when you put something new into a full bin, take something out of it: the color you never reach for, the duplicate, the supply that has dried out. One item in, one item out, at the moment of putting away.
This rule applies only to full containers. A bin with space in it can simply take the new thing. And if you find you are removing things you would rather keep, the category may have outgrown its space, which is a decision about the stash and not about tidying. The guide on how to declutter craft supplies walks through that decision one category at a time.
A seasonal review of one category
About four times a year, pick one category and give it roughly half an hour. Take everything out of its container, discard what is used up or no longer usable, group what is left, and put it back. Rotate through the categories, so that over a year or two each one gets looked at.
Use the same session to check its label. Contents shift over time, and a bin marked “ribbon” that now holds ribbon, lace and elastic should either be split or renamed. Keeping names accurate is covered in the guide to craft supply labels.
Fix the home that keeps getting ignored
Watch for the repeat offender: the one tool or supply that is on the table at every reset. It is tempting to blame yourself, but the pattern almost always means the home is wrong. Ask:
- Is it too far from where the item is used? Move the home closer, even if that breaks a tidy category.
- Does putting it back take more than one motion? Remove the lid, switch to an open cup, or bring it to the front of the shelf.
- Is the container too full or too small? Thin it out or give it a larger one.
- Does the item need a second home? Inexpensive tools used in two places can have one in each.
Change one home at a time and give it two weeks. A system that is adjusted a little every month stays useful far longer than one that is rebuilt from scratch every year.
Frequently asked questions
Why does a craft room get messy again so quickly?
Usually for one of three reasons: new items have nowhere to wait, so they land on the table; containers are packed so full that putting things back is awkward; or the homes for everyday items are too hard to reach. Fixing those, plus a short reset after each session, stops the slide.
How often should a craft room be tidied?
A little after every session, about ten minutes, is far more effective than a big tidy now and then. Add a weekly check of about fifteen minutes for the inbox and flat surfaces, and review one category of supplies roughly once a season.
What if I do not have time to reset after every session?
Shrink the reset instead of skipping it. Even two minutes covers the essentials: sharp tools closed or capped and put away, lids on, and the project in its container. Then end the next session a few minutes early to catch up before the pile grows.